Final Project – IanD

Background: People dole out their business cards every single day–in meetings, in the elevator, and on the street. The business card is a physical reminder of an interaction and an individual. Sure, simple business cards can be effective (see American Psycho), but given that “the medium is the message” here, most business cards fall flat. No matter how well you design a business card, it’s restricted to a 3×5 inch little canvas that limits your expression. How can you encapsulate a person in this medium? What if you could add another dimension to the business card?

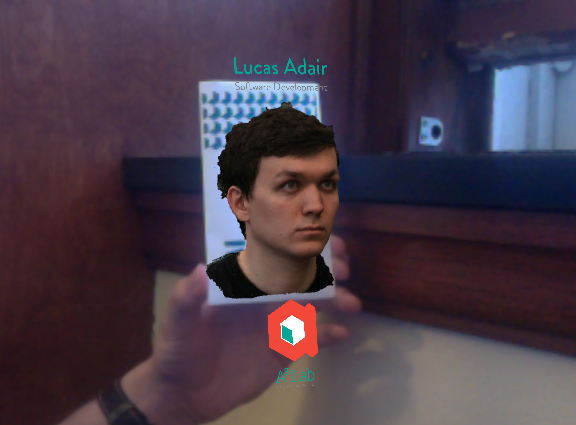
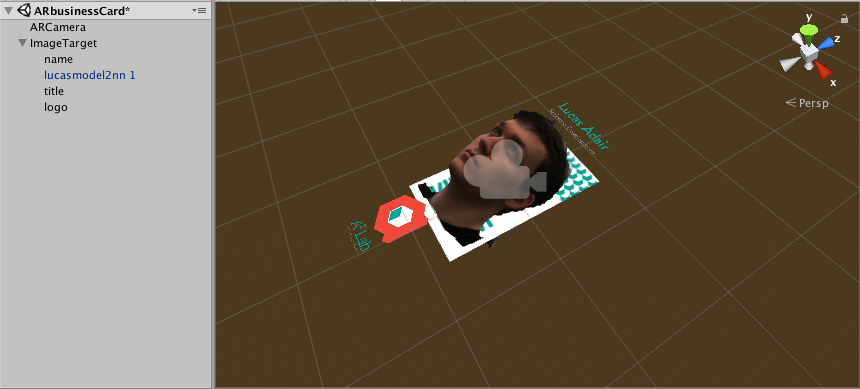
Explanation: In essence, my final project aims to do just that. This business card is actually an augmented reality target that, when viewed with the right software, is able to project a 3D likeness of the cardholder as well as their name, job title, and anything else they’d like to include.In order to make this AR business card come to life, I used Unity and the Vuforia SDK. The card itself was created in Adobe Illustrator and then uploaded to a Vuforia (AR) database. Once the database was linked to my Unity project, I was able to place the card image in the scene. At that point, you can place whatever you want to display as a child of the AR target and it will display when viewed with the connected camera.
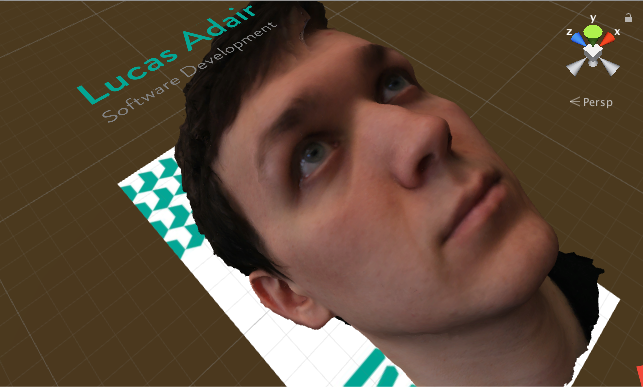
For my project, I wanted to create a 3D portrait for my cardholder. My friend and coworker, Lucas from the A3 Lab on campus, volunteered to be the subject of the card. In order to capture his likeness, I took 50 pictures around his head with a DSLR and fed them into 3DF Zephyr–a free (when processing 50 photos or less) photogrammetry program. The program took the photos and aligned them, generated a point cloud, and created a textured 3D model. I exported the model, cleaned it up in Blender, and then dropped it into Unity as a child of the target. After adding the text and the lab’s logo, as well as doing some resizing, the AR business card was complete. All you have to do is play the scene and hold the target up to the camera.
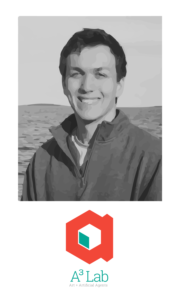
I went through a few iterations of the card (as you can see in Unity) but here’s what I used in the end:

This would be the back of a card that contains his name and contact info. The picture provides enough information for perfect tracking.

Credits: I want to, first and foremost, thank Lucas. He’s surprisingly good at keeping his eyes open for about 3 minutes. I took a lot of inspiration from the 3D Scanning Users Group on Facebook, which is an incredibly talented community of photogrammetry users. By extension, I’d like to thank Valerio Rizzo, who has been a great guide into the world of photogrammetry.
Simple Budget: Believe it or not, this project was completely free to produce. Granted, I didn’t get exactly the model that I wanted due to the fact that I could only use 50 photos. If I were to really make a product out of this, I’d use Reality Capture. RC is $99 for 3 months of use and is the industry standard for photogrammetry software.
To recap, here’s what you need to reproduce this project:
Unity
Vuforia SDK
3DF Zephyr Free – (Windows only)
Blender (recommended)
Illustrator (recommended)
A camera (even a decent phone will do)
Someone to take pictures of
This tutorial: https://adamspring.co.uk/single-post/2017/08/30/Single-Camera-Head-Scanning-Photogrammetry
Time: 15 hours
You must be logged in to post a comment.